실습 코드
lct : ./accountapp/views.py
from django.http import HttpResponse, HttpResponseRedirect
from django.shortcuts import render
# Create your views here.
from django.urls import reverse
from accountapp.models import HelloWorld
def hello_world(request):
if request.method == "POST":
temp = request.POST.get('hello_world_input')
new_hello_world = HelloWorld()
new_hello_world.text = temp
new_hello_world.save()
return HttpResponseRedirect(reverse('accountapp:hello_world'))
else:
hello_world_list = HelloWorld.objects.all()
return render(request, 'accountapp/hello_world.html', context={'hello_world_list': hello_world_list})
Python
복사
lct : ./accountapp/templates/accountapp/hello_world.html
{% extends 'base.html' %}
{% block content %}
<div style="border-radius: 1rem; margin: 2rem; text-align: center">
<h1 style="font-family: 'lobster', cursive;">
Hello World LIST!
</h1>
<form action="/account/hello_world/" method="post">
{% csrf_token %}
<div>
<input type="text" name="hello_world_input">
</div>
<div>
<input type="submit" class="btn btn-primary" value="POST">
</div>
</form>
{% if hello_world_list %}
{% for hello_world in hello_world_list %}
<h1>
{{ hello_world.text }}
</h1>
{% endfor %}
{% endif %}
</div>
{% endblock %}
HTML
복사
lct : ./accountapp/templates/accountapp/hello_world.html
++ Pycharm Debuging
초기 설정 해주기
;
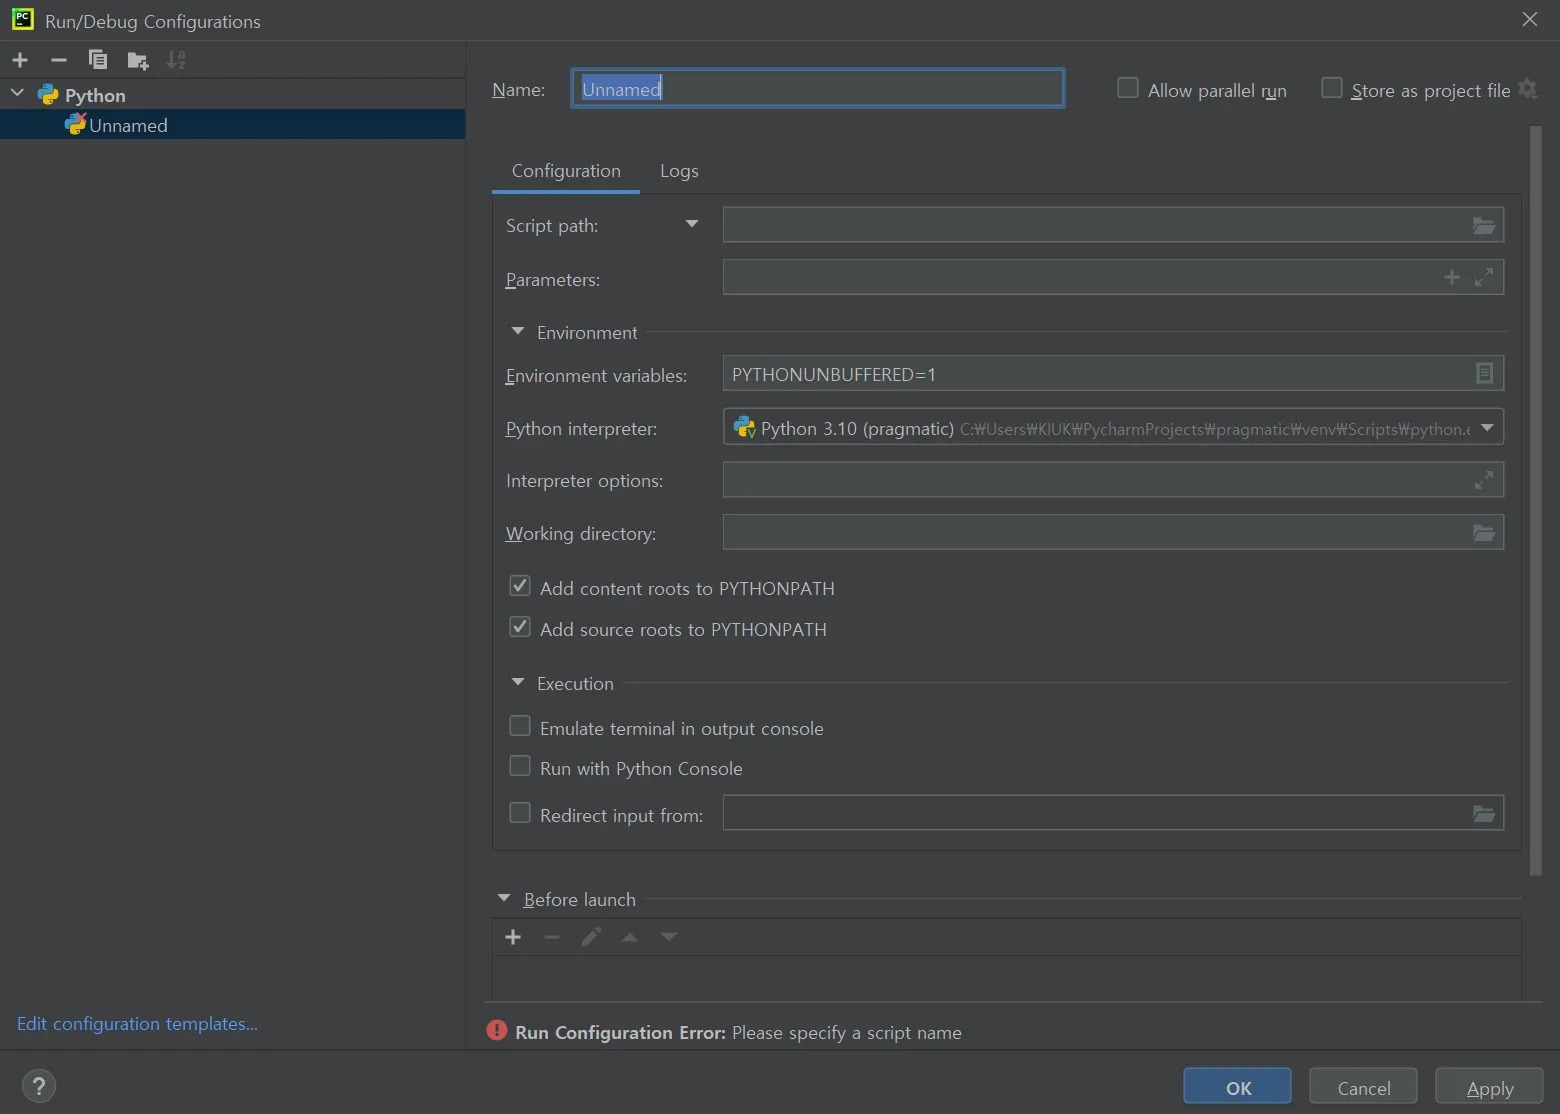
run - edit configuration
1.
Python 으로 추가해주기
2.
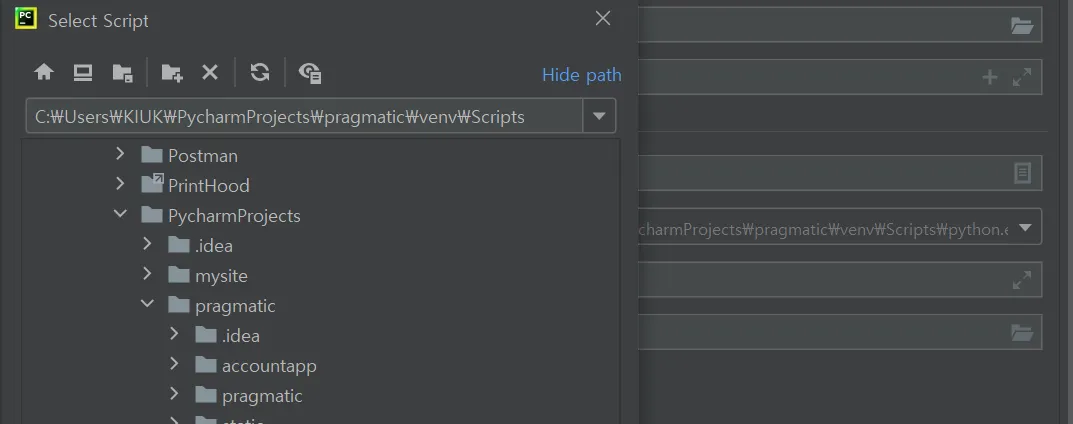
select script 폴더를 해당 프로젝트의 venv script 경로로 지정, Parameters를 runserver로 지정
3.
manage.py 파일 오른쪽 클릭으로 Debug ‘manage’ 시작


